
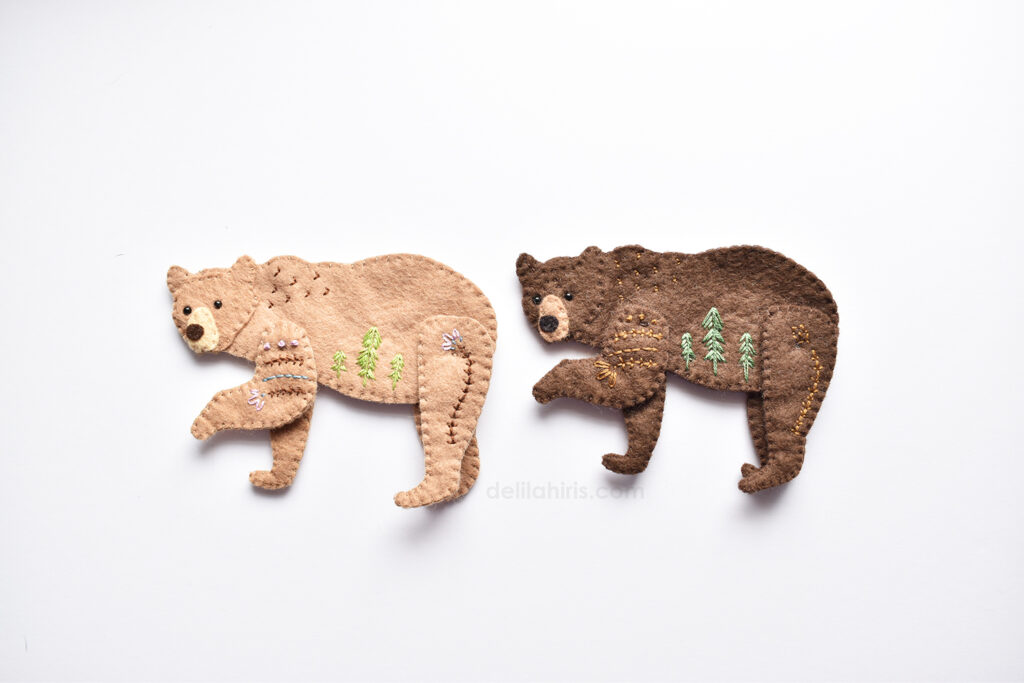
Woodland Bear Ornament Sewing Tutorial
What’s in the box?
- Wool felt and pattern
- tutorial download
- embroidery thread
- doll eyes
- needle and thread
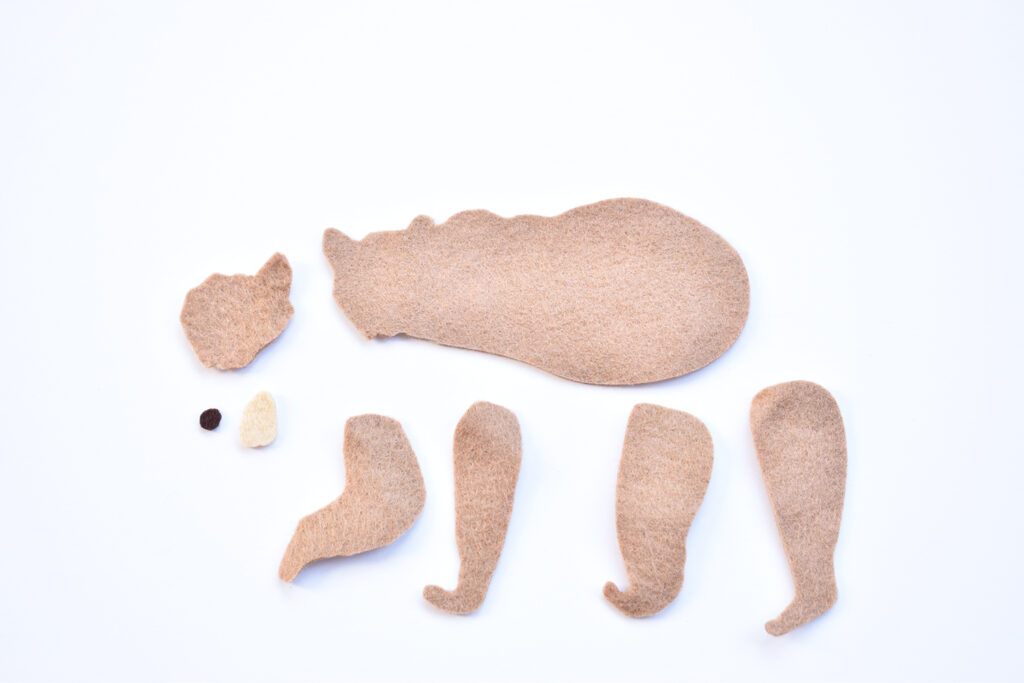
Begin by cutting all of your felt pieces as directed by the included sewing pattern. The easiest way to cut felt is to use a small sharp pair of scissors. For the greatest precision you could:
1. choose to trace the pattern pieces onto the felt, or 2. iron some wax paper to the felt then trace onto that and cut, or 3. tape the pattern pieces to the felt with some wide clear tape, cutting through both tape and felt simultaneously.
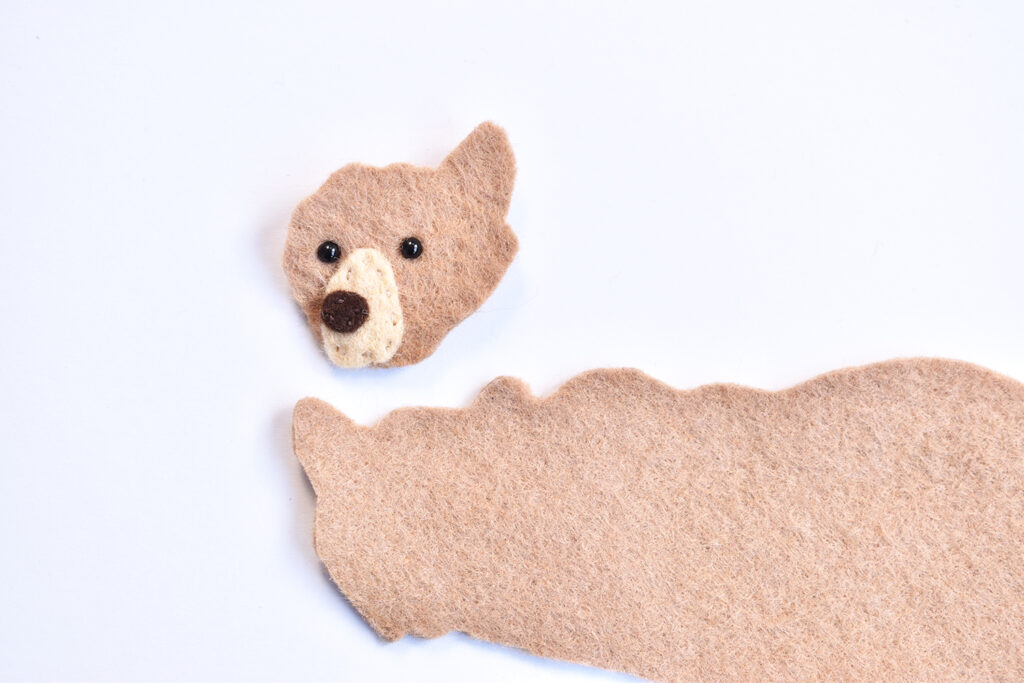
Begin creating the bear by sewing the “Front Face Detail” onto the “Bear Face” with a running stitch and color
coordinating multi-purpose thread. Next sew the Nose onto the Front Face Detail piece.
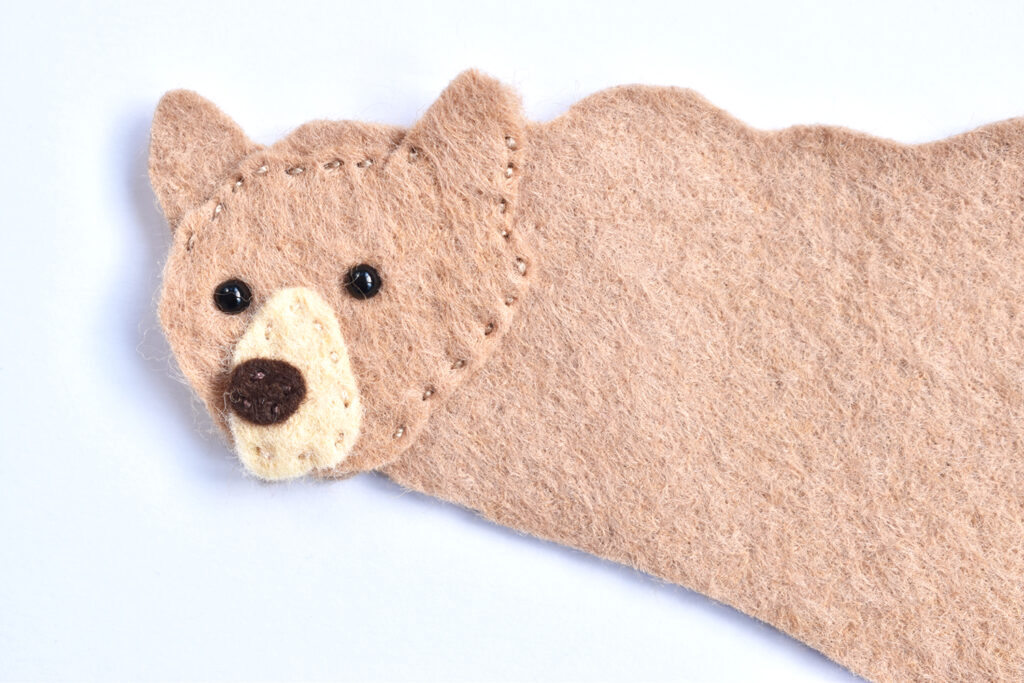
Create eyes on the bear face. Here I’ve installed 3mm doll eyes. Alternatively you could use beads or sew the
eyes in with embroidery thread. Match the bear face with the “Main Body” piece and stitch in place as shown below.
We’ll begin some simple embroidery. To keep the embroidery clean and dainty we’ll split our thread down to 2 strands for this entire project.
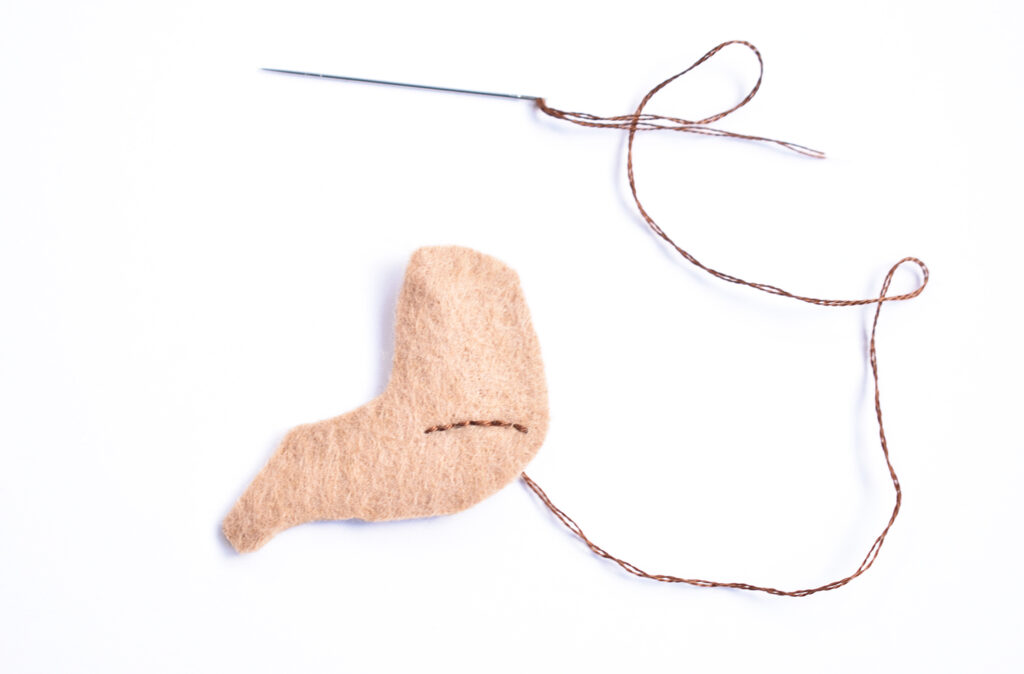
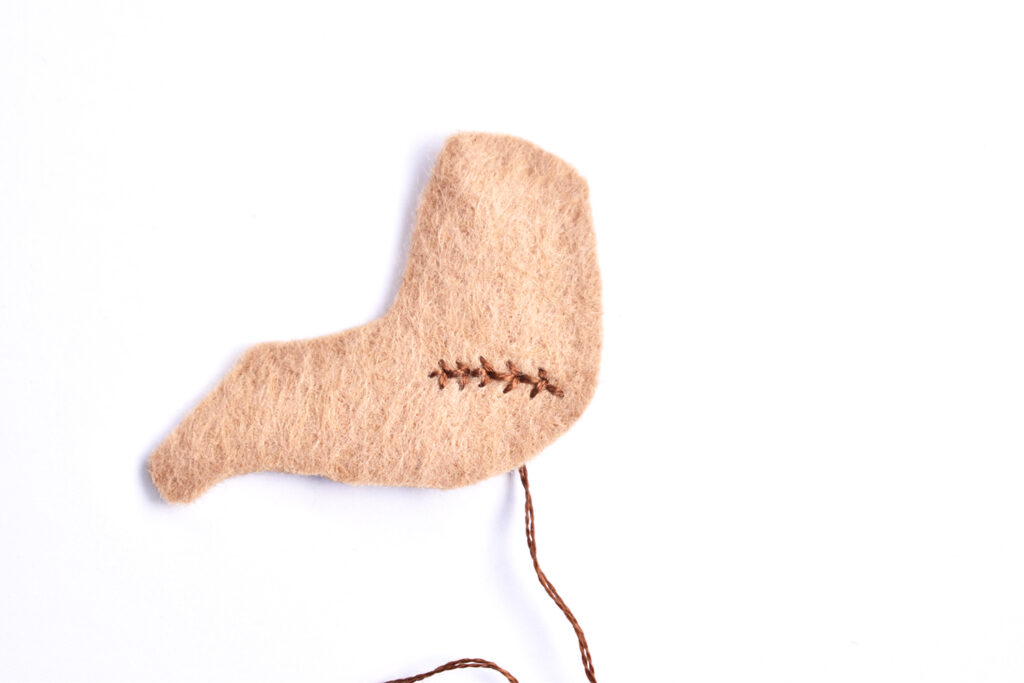
Begin on “Arm Piece A” by creating a simply curved line using a backstitch. Next we’ll add some very small
inverted lines all along the curved line. I like to space the inverted lines to end in between each back stitch,
and place them by creating a small triangular “V” shape.
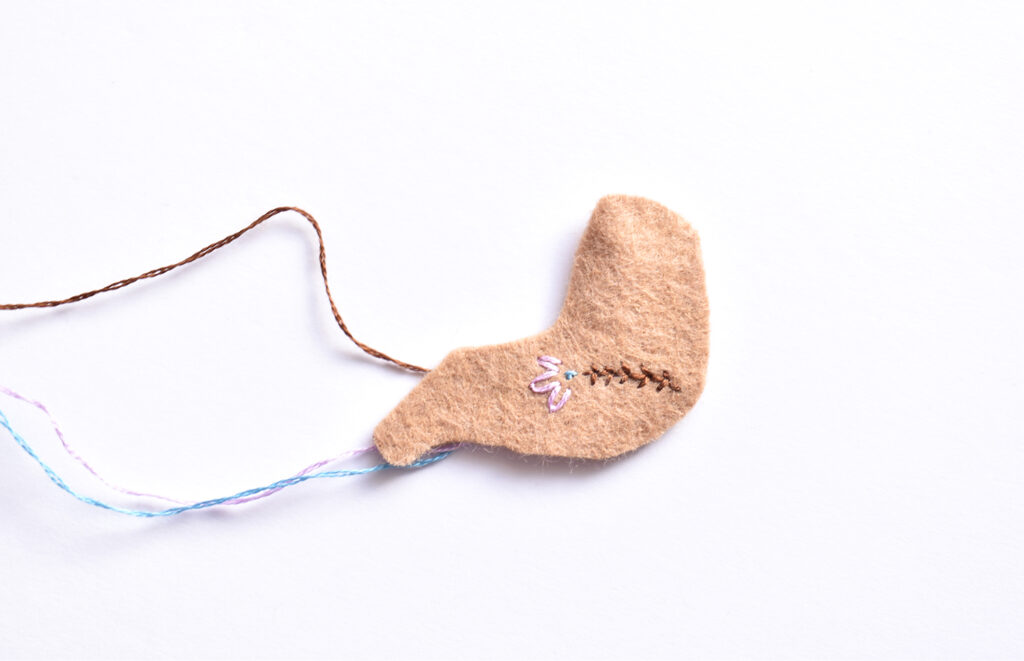
Next we will create a small flower at the end of the embroidered branch you just created. Place one regular
straight stitch at the end of the branch. This will create what will kind of serve as the flower’s stamen. Place 3 Lazy Daisy stitches around the “stamen” stitch as shown below.
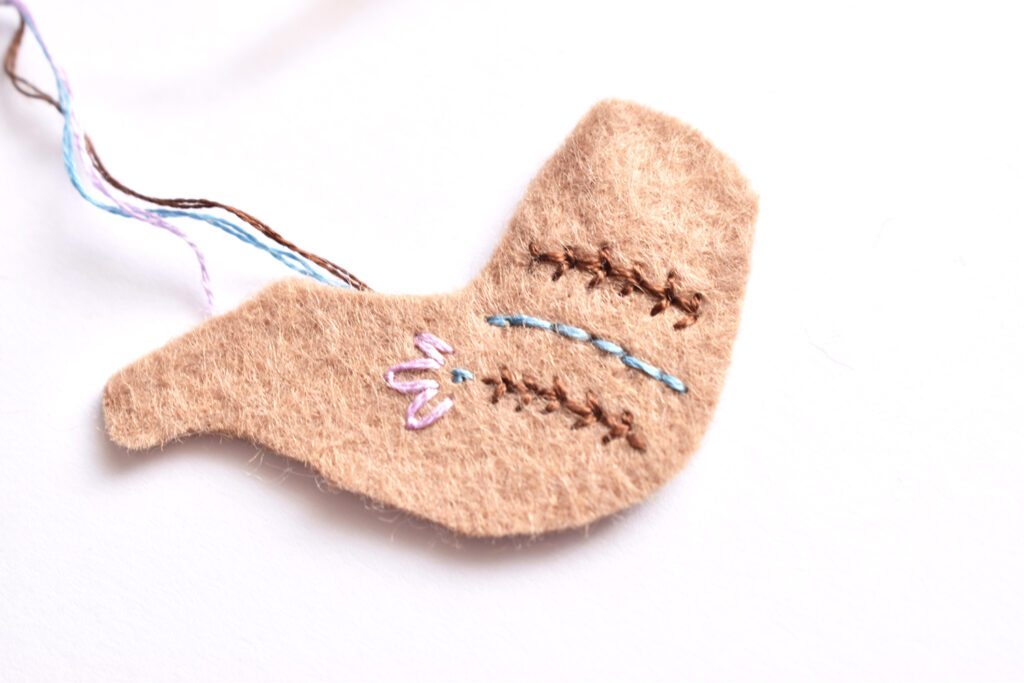
Repeat the curved back stitch line two more times above the flower and branch embroidery. Keep one plain then alternate to another “branch” with inverted lines along the curved stitched line. To finish this embroidery detail we’ll create 3 French knots at the top of the arm.
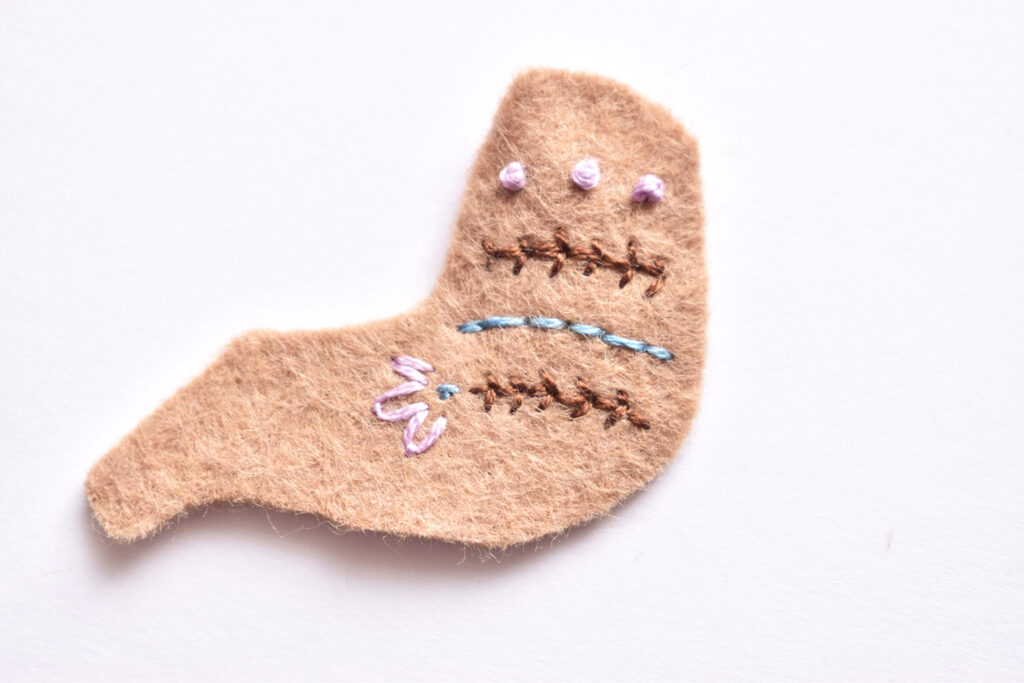
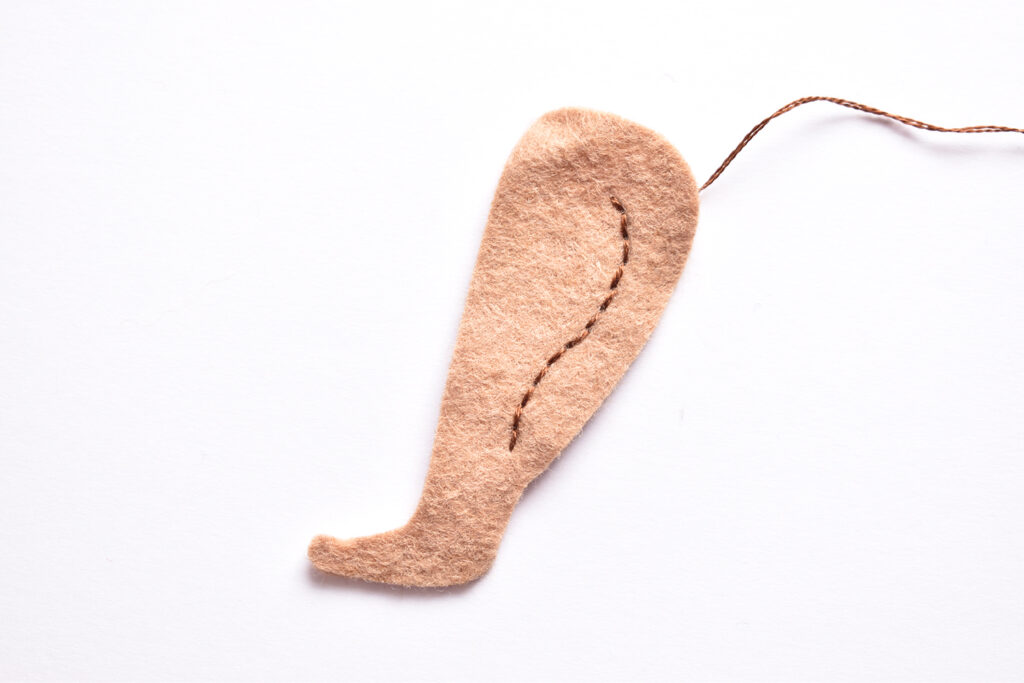
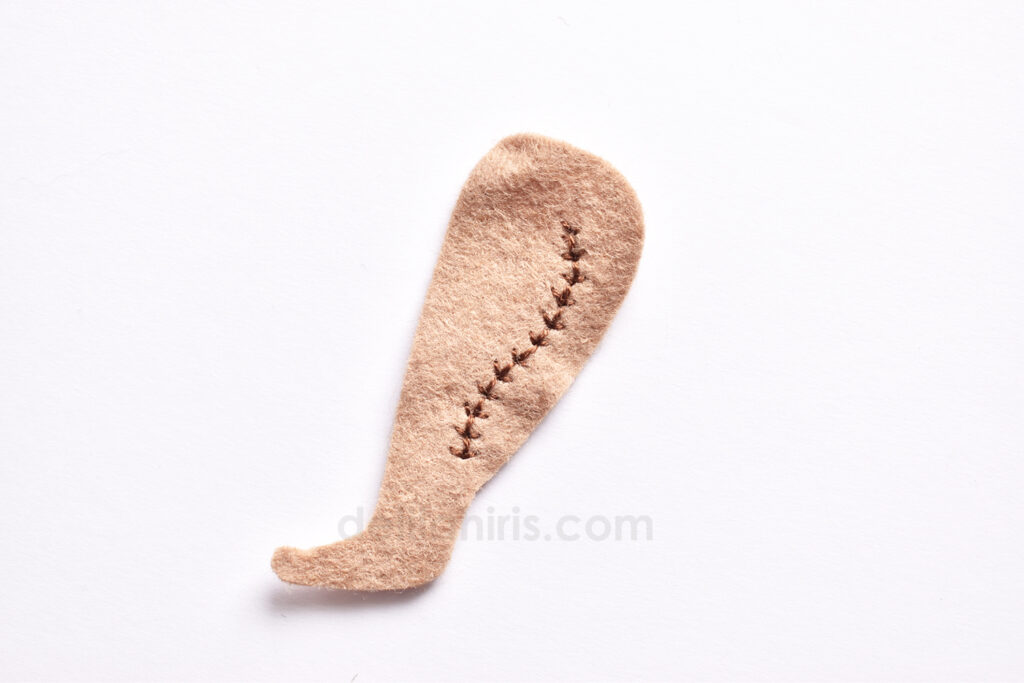
Let’s add some embroidery to “Leg Piece C”! Start by creating a back stitched line with a bit of a decorative
wave or swirl as shown below. Add some inverted stitched along this line to create a branch just as we did on the arm piece.
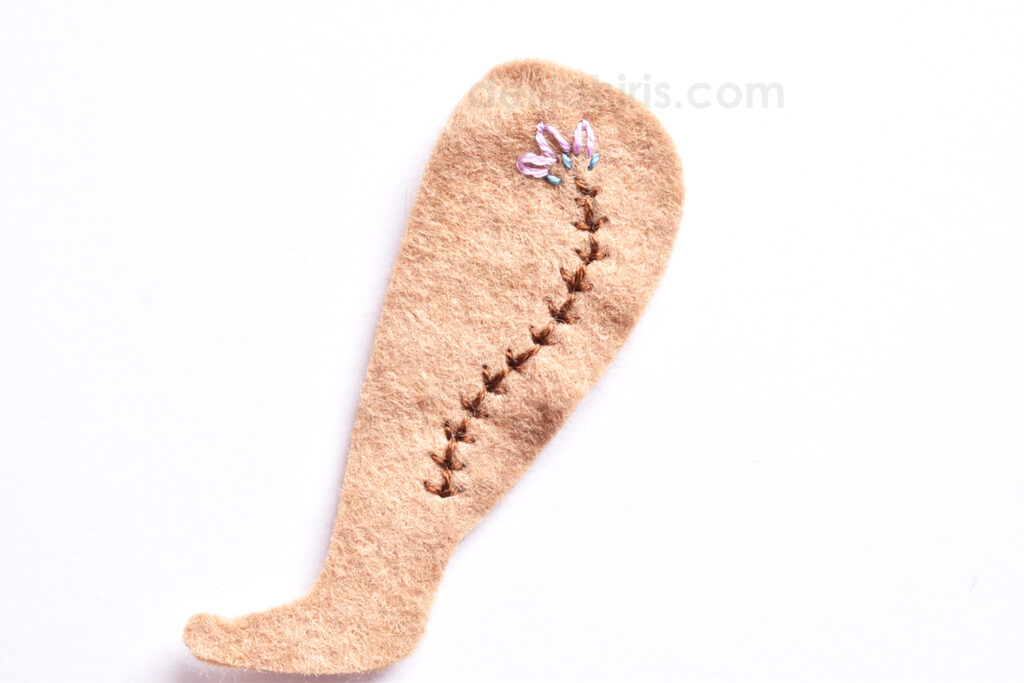
Finish the leg embroidery by adding another little Lazy Daisy flower blossom at the end of the branch.
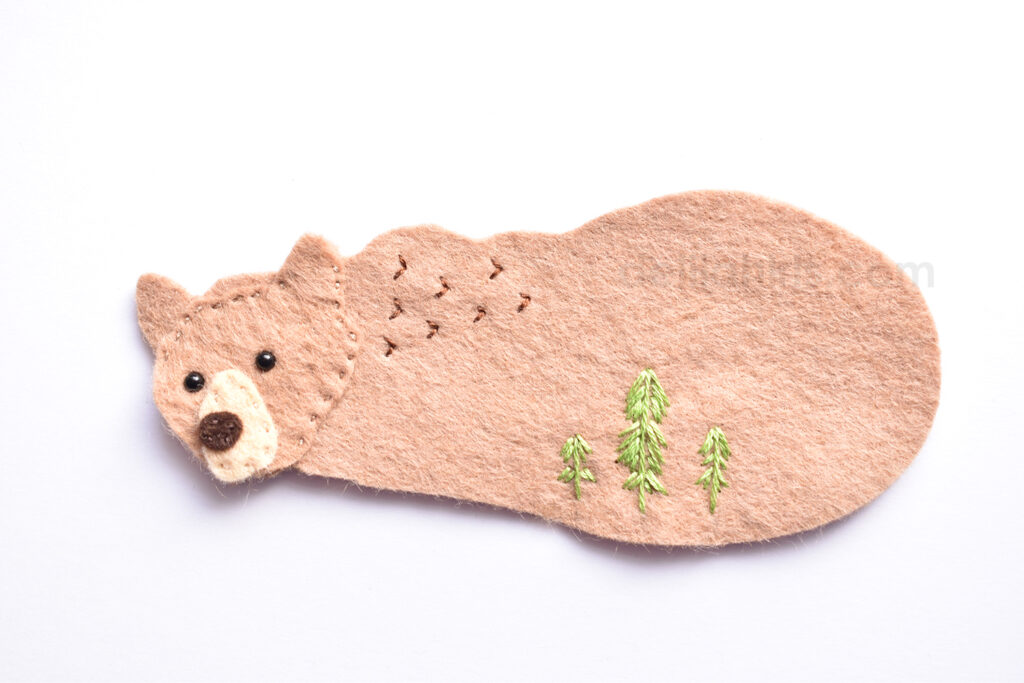
Next we’ll add some details to the bear’s body! Start by creating 3 vertical long stitches of varying sizes.

Create some triangle shaped inverted lines facing downward from the vertical lines. These will become small pine trees! First add these lines sparsely as shown below, then go back and fill the tree in with more and more stitches until your tree looks full. As a last step add a few triangle stitches to the bears back.

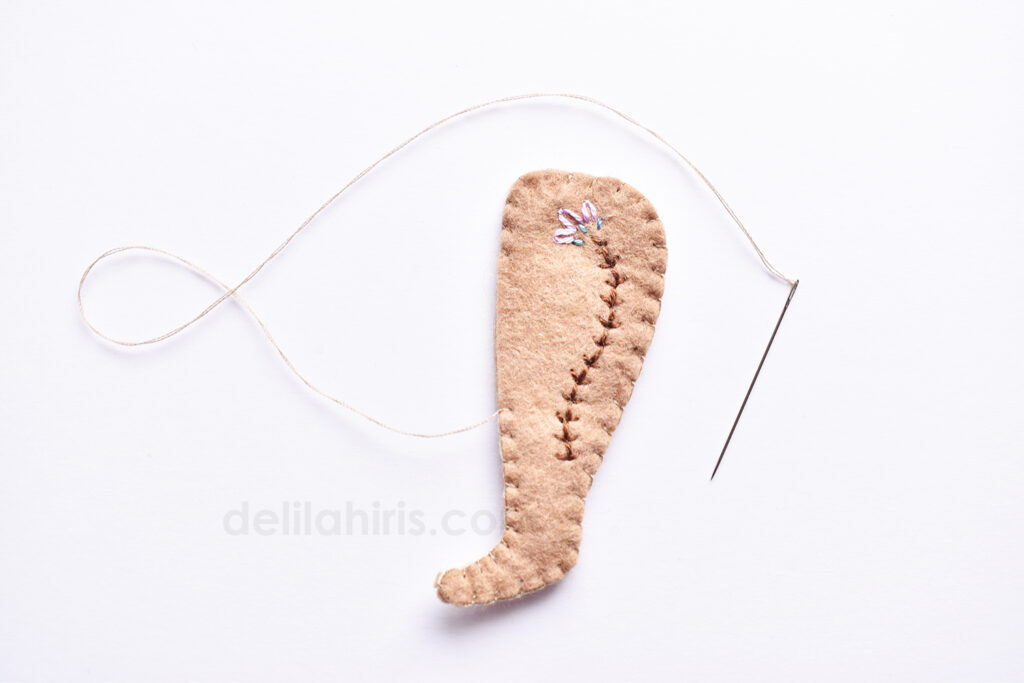
To finish match each of the arm and leg pieces together and sew at their edges using a whip stitch or blanket stitch. This will hide the embroidery stitching onto the back of the pieces. Match the two bear body pieces and stitch these together as well.
For the final step of finishing the bear ornaments, match all of the legs to the body to sew into place. Pieces A and C should be on the front part of the bear. Pieces B and D will be sewn onto the back of the body.
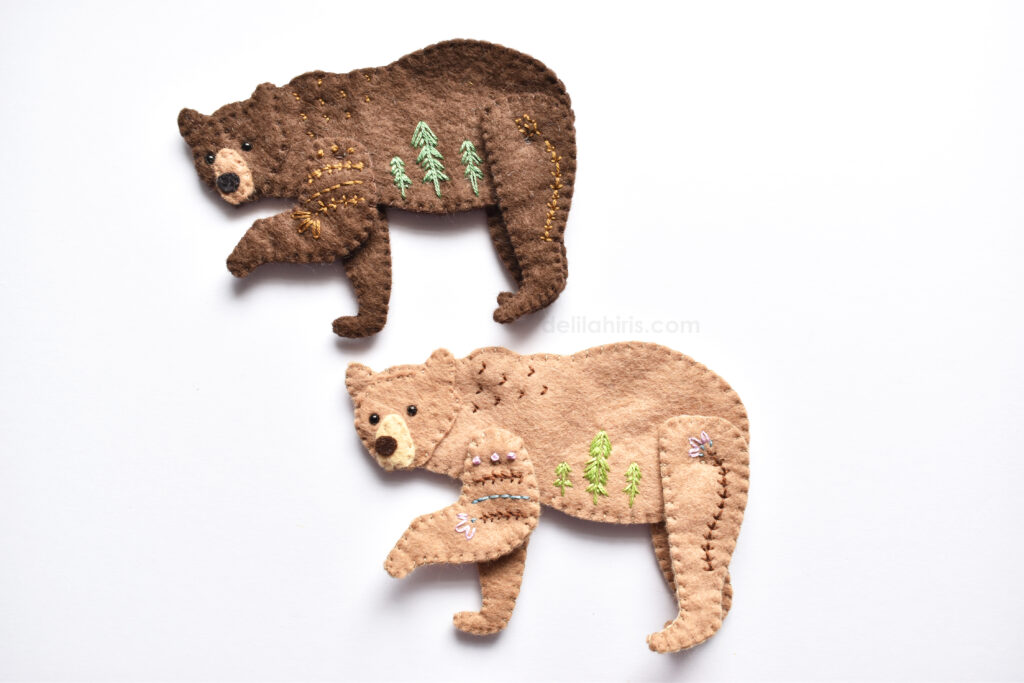
To sew them into place, knot your thread on the back of the bear just where the legs would be sewn (this will later hide the thread). Find the best position for the front leg piece (A) and bring the needle and thread through the bear body from back to front through the middle top of the bear’s leg. Hold or pin the leg into place, then find the position of leg piece B. Send the needle back through the leg and body about an 1/8th inch over, and through leg piece B all at once. The thread will now be holding both leg pieces into place on the body.
Continue sewing back and forth in the same place about 2 or 3 times to create a jointed, moving set of limbs. Repeat this for leg pieces C and D.