Recommended Tools And Supplies:
felt fabric
toy stuffing
doll eyes or embroidery thread
needle and thread
small scissors

Make Your Own Felt Penguin

Begin by cutting all of your felt pieces as directed by the last page of the pattern. The easiest way to cut felt is with a small sharp pair of scissors. For the greatest precision you could: 1. choose to trace the pattern pieces onto the felt, or 2. iron some wax paper to the felt then trace onto that and cut, or 3. tape the pattern pieces to the felt with some wide clear tape, cutting through both tape and felt simultaneously.
Create eyes on the penguin by installing the safety eyes on the main body pieces of the penguin.
To install safety eyes simply poke a small hole where you would like the eye to be positioned. Send the pack of the safety eye post into the hole, then place the small plastic washer over the back of the post to hold the eye in place. Snip the excess post off of the back of the eye.


Next sew the small white neck details into place with the stitch of your choice. Once the felt piece is in place use some deep yellow or orange embroidery thread to sew in the colored details.

Match the two body pieces at the beak and sew just a few stitches inward (about 1/8”). Match the Face/Back piece to one side of the body matching the tip to just where you stopped stitching. Continue stitching along the face, sewing the Face/Back piece into place.


Next match the opposite side of the body to the Face/Back piece and sew it into place in the same manner.

Match the Front of Penguin pieces together and sew across the front edge. Fold the sewn pieces open.
Match and pin one side of the Front of the Penguin to the Penguin Body Piece. Starting from the bottom begin stitching these pieces together.


Sew the two pieces together moving from the bottom all the way to the end of the white felt Front of Penguin piece, transition to the black felt up the front of the beak. Switch directions and sew back down the opposite side of the penguin’s body.


Stuff the penguin’s body with toy stuffing. I like to finish off the bottom with dried lentils for extra
weight at the bottom of the toy.
Next sew the penguins feet onto the Bottom of Penguin piece. Pin the piece to the bottom of the sewn and
stuffed penguin and begin sewing in place. Leave a small opening at the end to finish stuffing if needed. Stitchthe opening shut.


Match and sew the penguin flippers together at their outer edges. Leave a small opening for stuffing with small amounts of toy stuffing. Sew the opening shut.

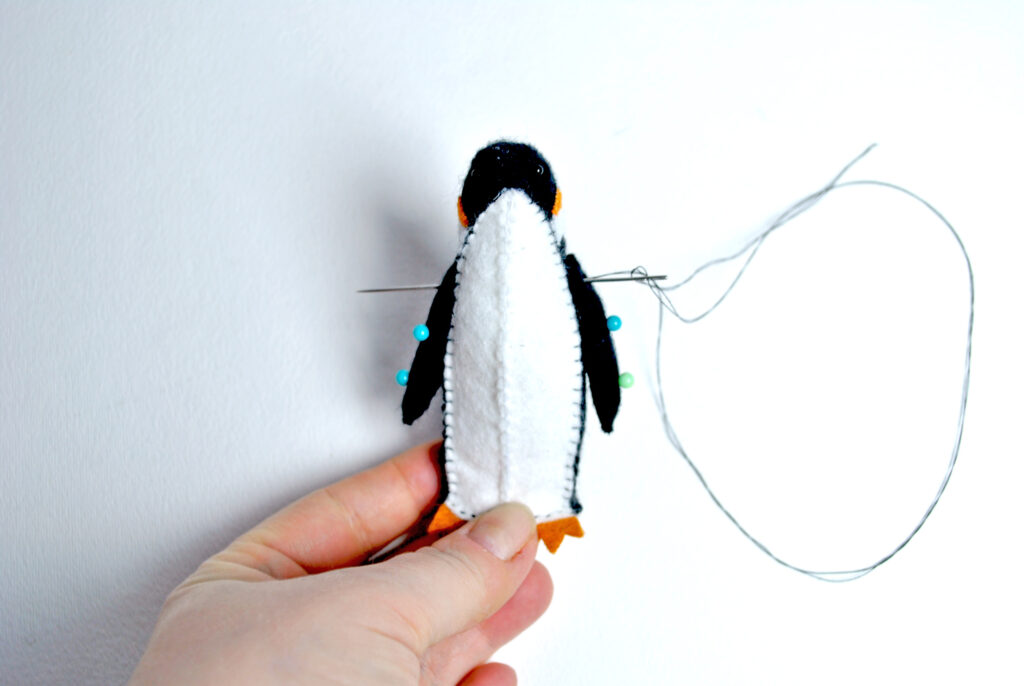
Next we will sew the flippers on with the string jointing method. Make a knot with your thread and send the needle straight through the body where the flippers will sit. Pin the flippers into place and stitch into place by sending the needle back and forth through the body placing each single stitch one on top of the other until you have passed the needle back and forth 6 or 8 times. tie the thread off under the flipper to hide the stitching. You’re done!