
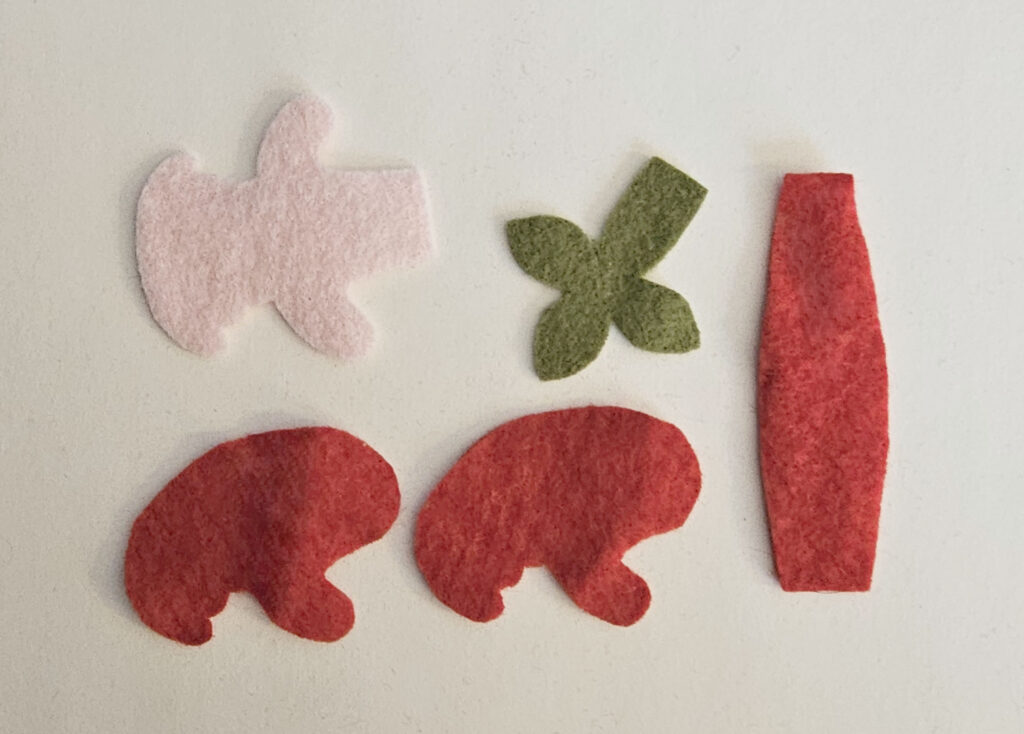
Begin by cutting the frog pattern from felt. This frog can be made in all colors and combinations. After all, frogs in the wild come in all kinds of exotic colors! I like to cut thebody and top of the frog in one color, with a contrasting color for the bottom of the frog.
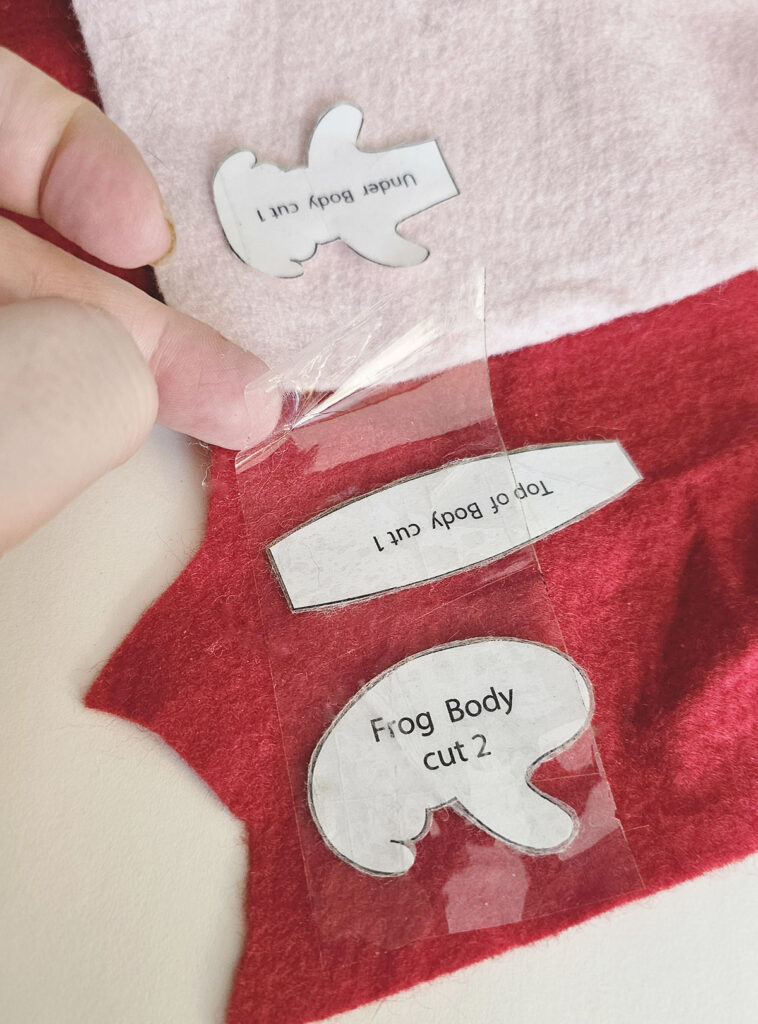
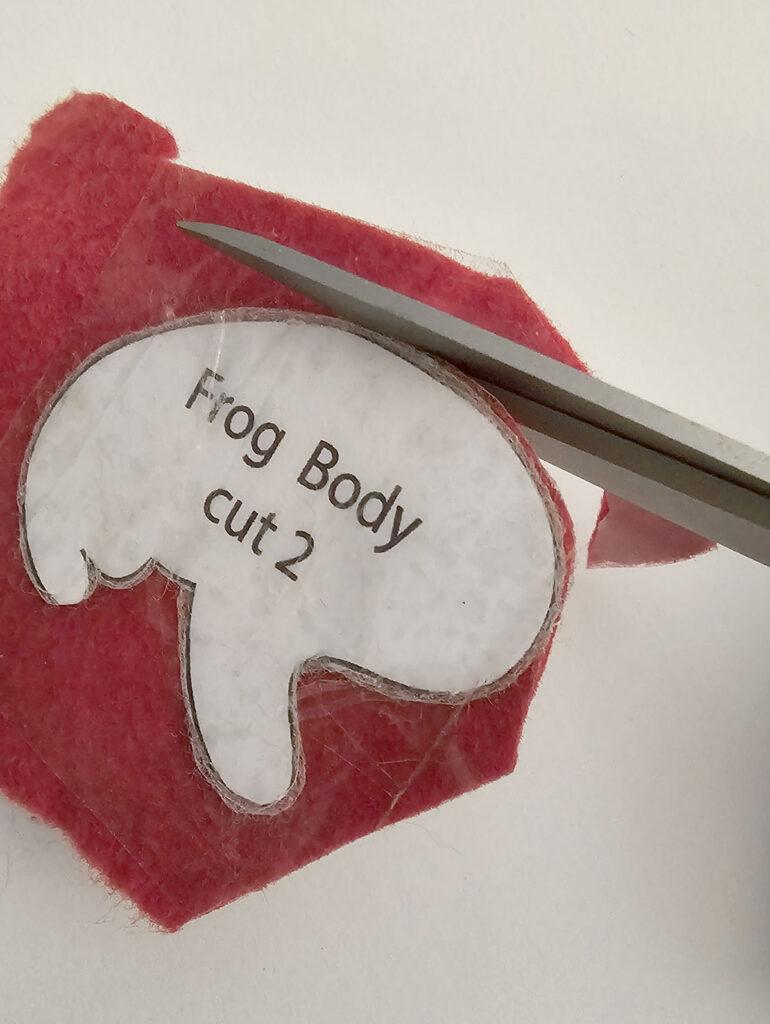
My favorite method for cutting felt is to tape the printed pattern onto the felt, then trimming through both tape and felt at the same time. This is a fantastic method for creating precise cuts with small pieces.
Begin by installing eyes on the main body pieces of the frog. I like to use a pin to find where I would like to install the eye. Match both pieces together to create exact placement on both sides of the frog. After making a small hole, poke a slightly larger hole with a toothpick.
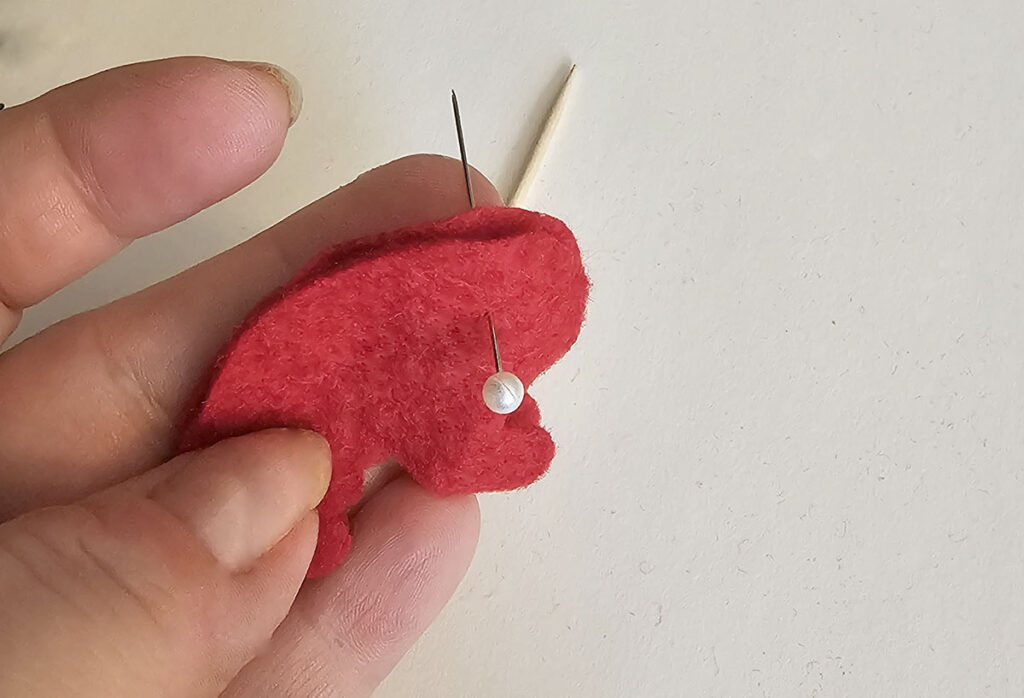

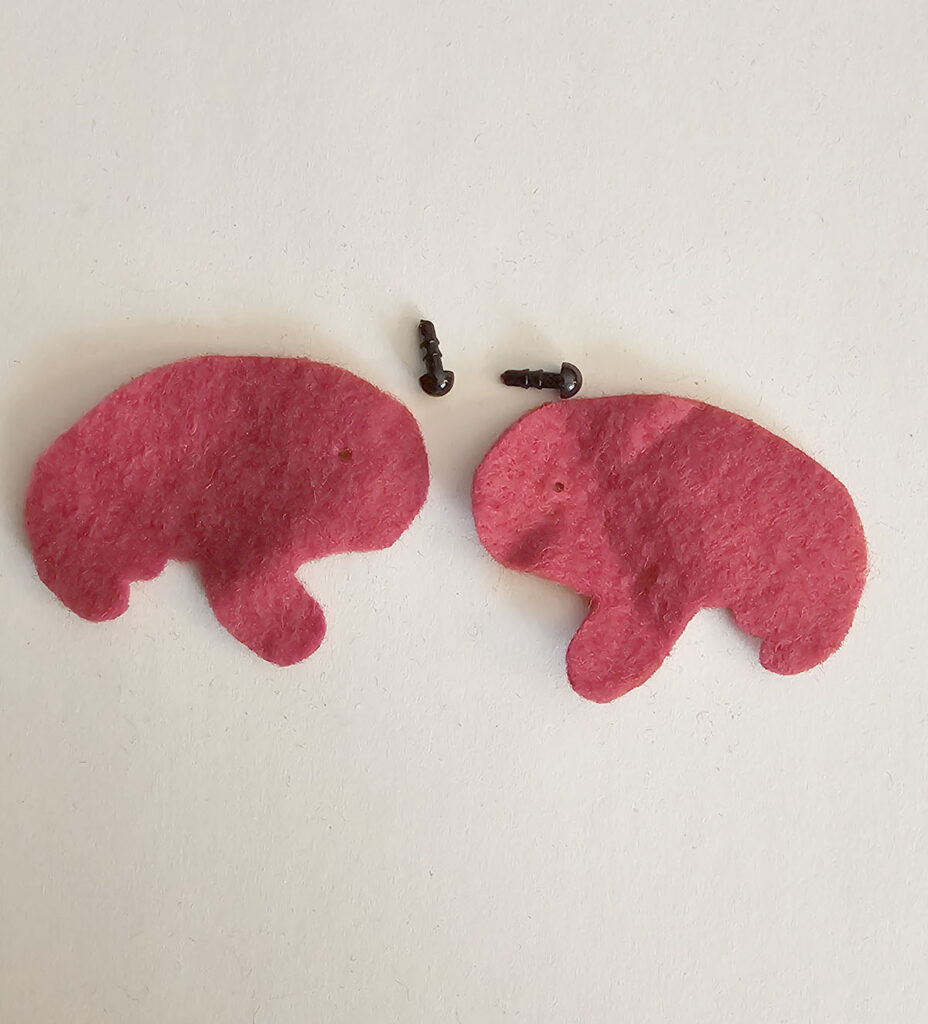
Insert the eye post through the hole then fit the small plastic washer over the back. Trim off the excess post.
To begin sewing the frog, match the pattern pieces for the top and bottom of the frog at corresponding ends. Pin, place, and stitch together using either a blanket stitch or a whipstitch. Turn the pieces right out, so that the raw stitched edges will face the inside of the frog.

Next we’ll add some little embroidered “seeds”. The seeds are hand embroidered using a popular embroidery stitch called a lazy Daisy. This stitch is created by creating a very small loop, then holding the end of the loop into place with a tiny stitch. The process is shown step by step below. Begin by splitting the embroidery thread down to 3 strands.

After creating a simple Lazy Daisy stitch loop, we’ll fill in the loop with a single stitch.

Thread your needle and create a knot at the end to begin stitching about three quarters of the way down the frog’s back. Insert your needle so that the thread and needle dangle to the outside of the frog. Match one side of the frog body piece to the underside of the frog.
Pin the pieces together at the legs. Using a short, tight blanket or whipstitch, begin stitching the edges of the top of the frog together, moving toward the back of the frog and down the back leg.
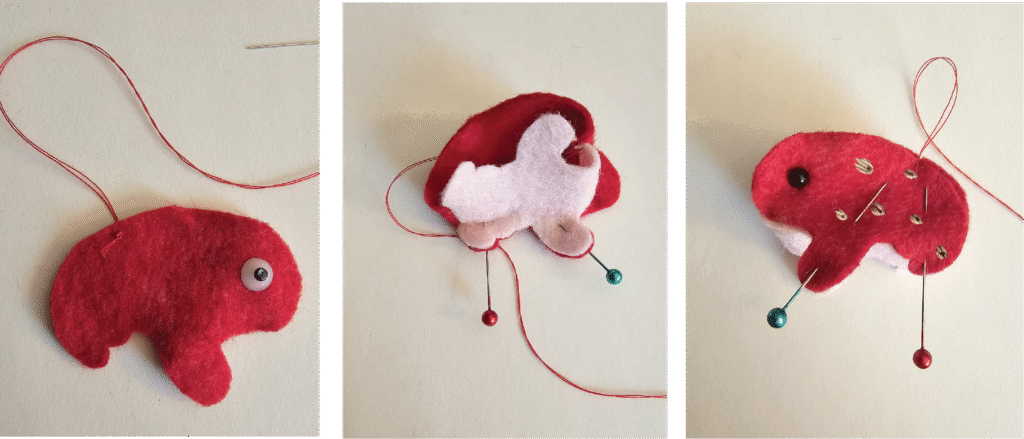
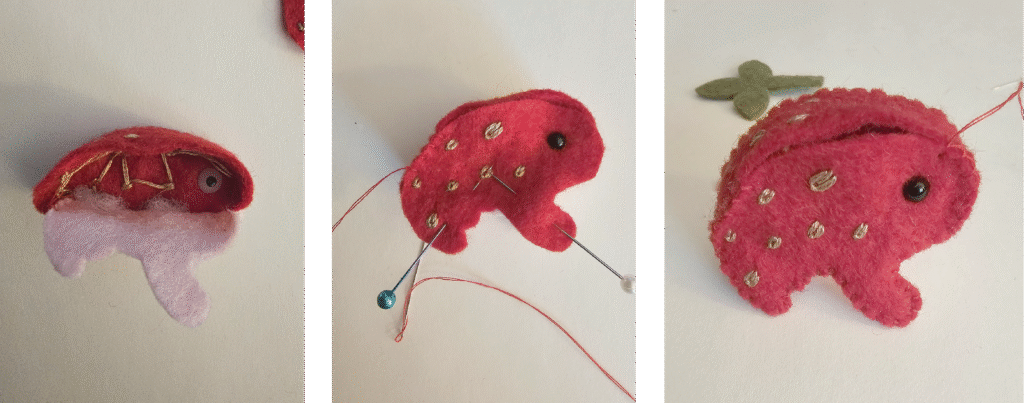
Once you’ve sewn the entire first side of the frog into place, stop and take a moment to fill the legs with small bits of toy stuffing.
Pin the second side into place and stitch around the edges starting from the back. When you have just a small opening left stitch the opposite legs and then the body.
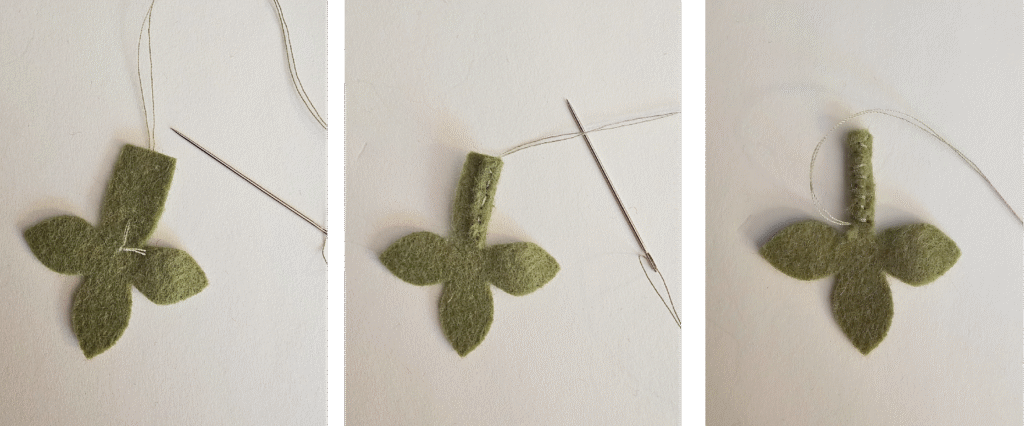
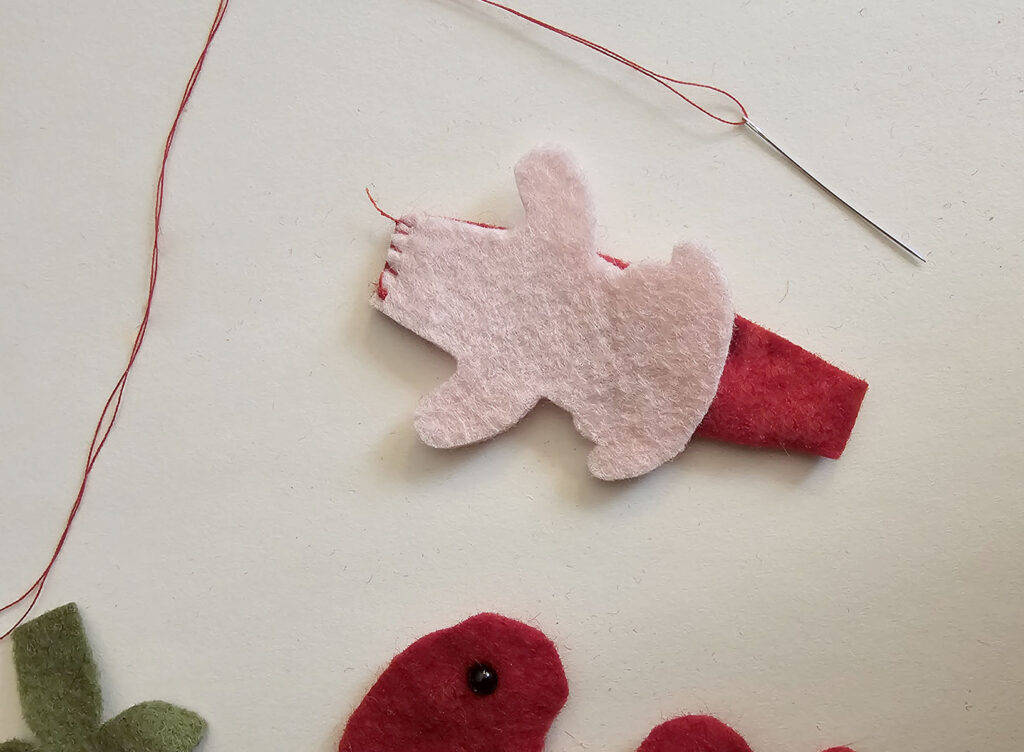
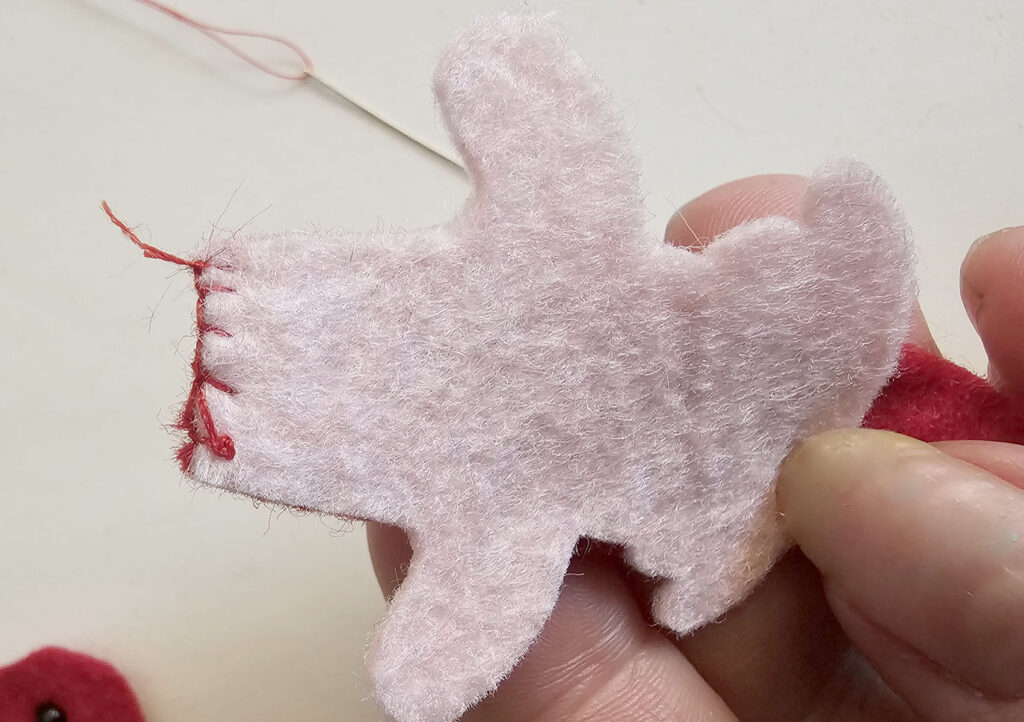
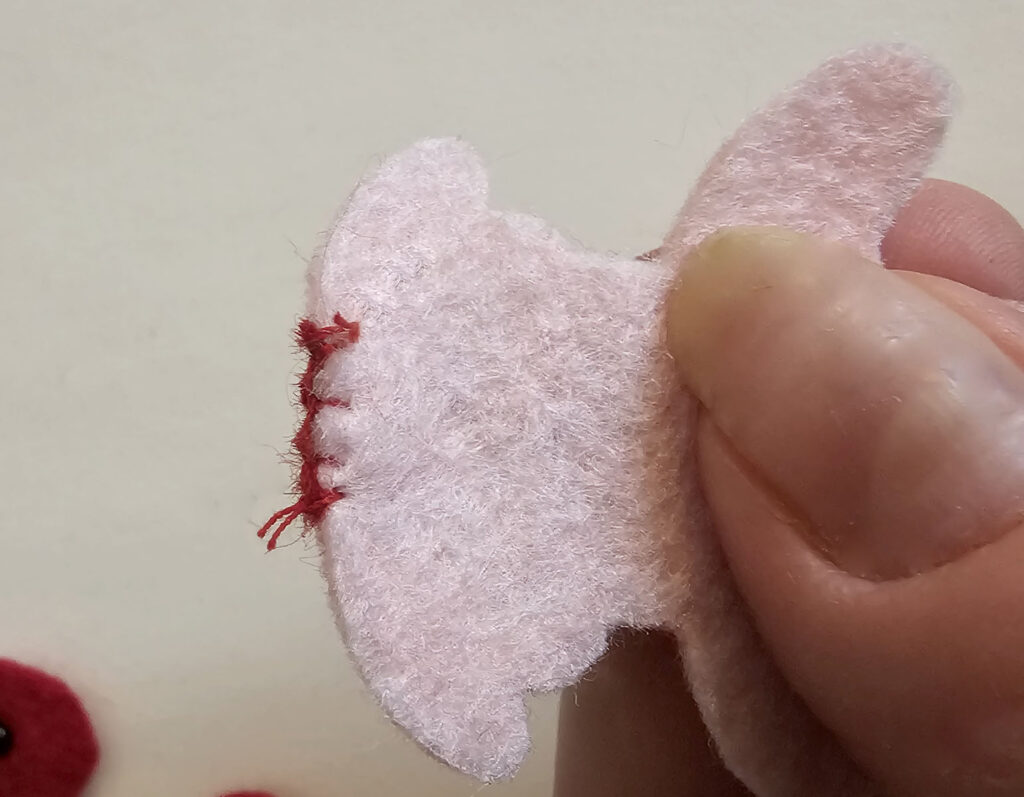
Knot the end of some green thread and begin stitching onto the leaf and stem felt piece. Fold one side inward and stitch into place. Fold the second side of and whip stitch into place.
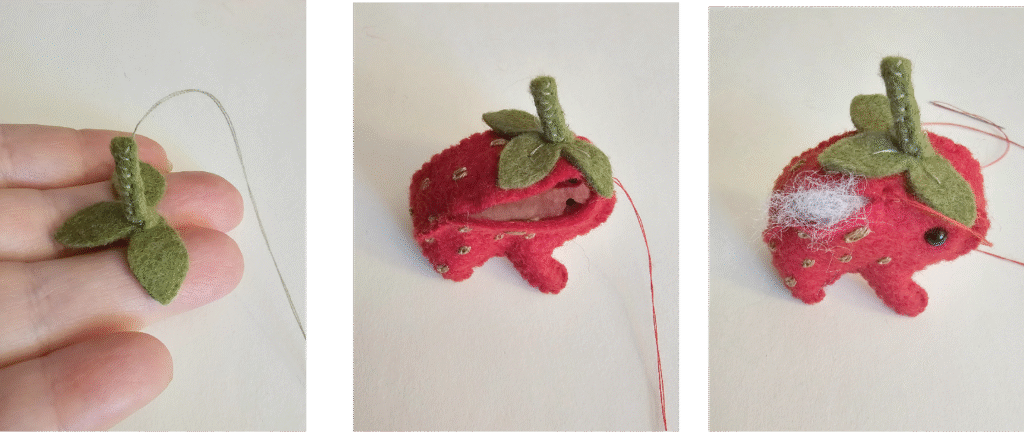
Flip the stem upward and drive the needle back down through the stem to hold it into place. You may want to add a few stitches to hole the stem to the leaves. Place the leaves onto the strawberry frog’s head to stitch into place, knotting your thread to the inside of the frog. Stuff the frog entirely full and sew the last opening shut.