
Begin by cutting all of your felt pieces as directed by the last page of the pattern. The easiest way to cut felt is with a small sharp pair of scissors. For the greatest precision you could choose to trace the pattern pieces onto the felt, iron some wax paper to the felt then trace onto that and cut, or tape the pattern pieces to the felt with some wide clear tape, cutting through both tape and felt simultaneously.
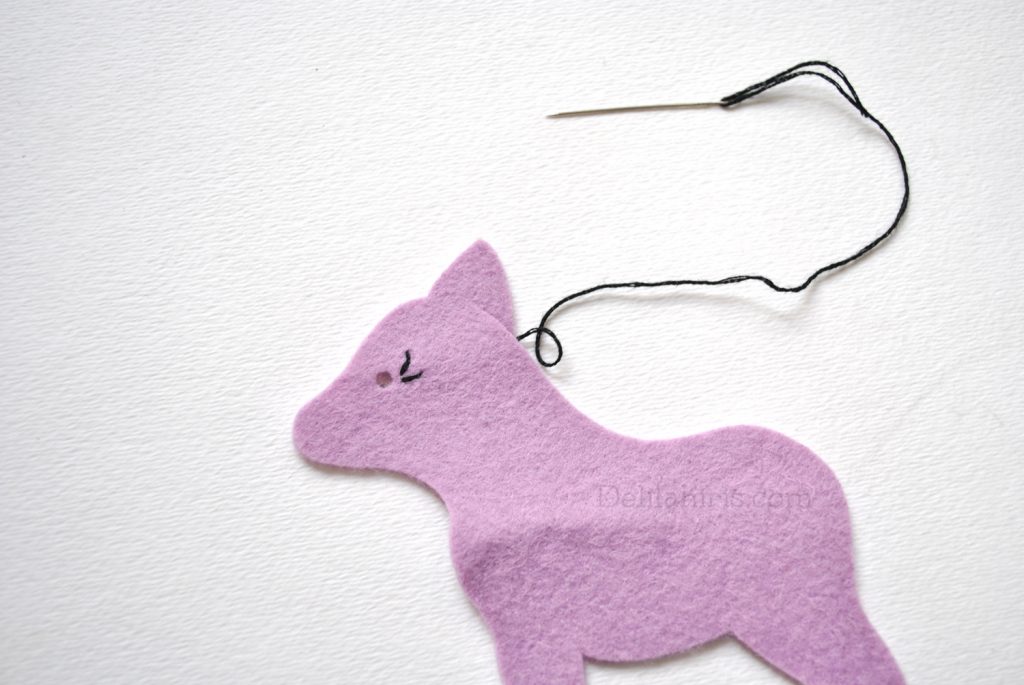
Next we will move on to sewing all of the skeleton bone pieces onto the Main body pieces of the horse using a running stitch and some white thread.

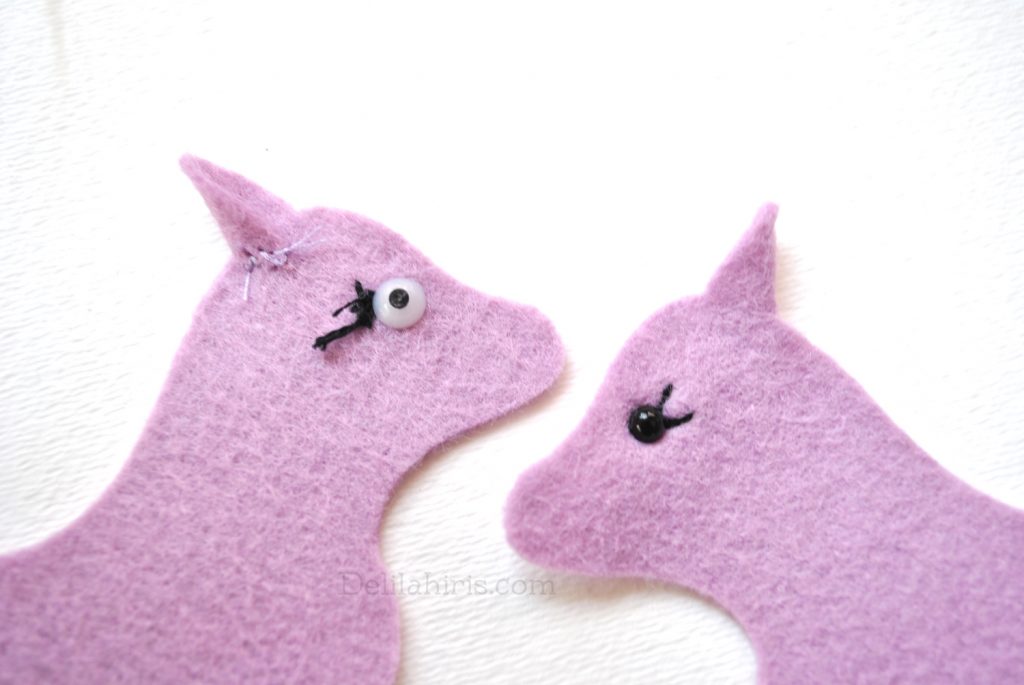
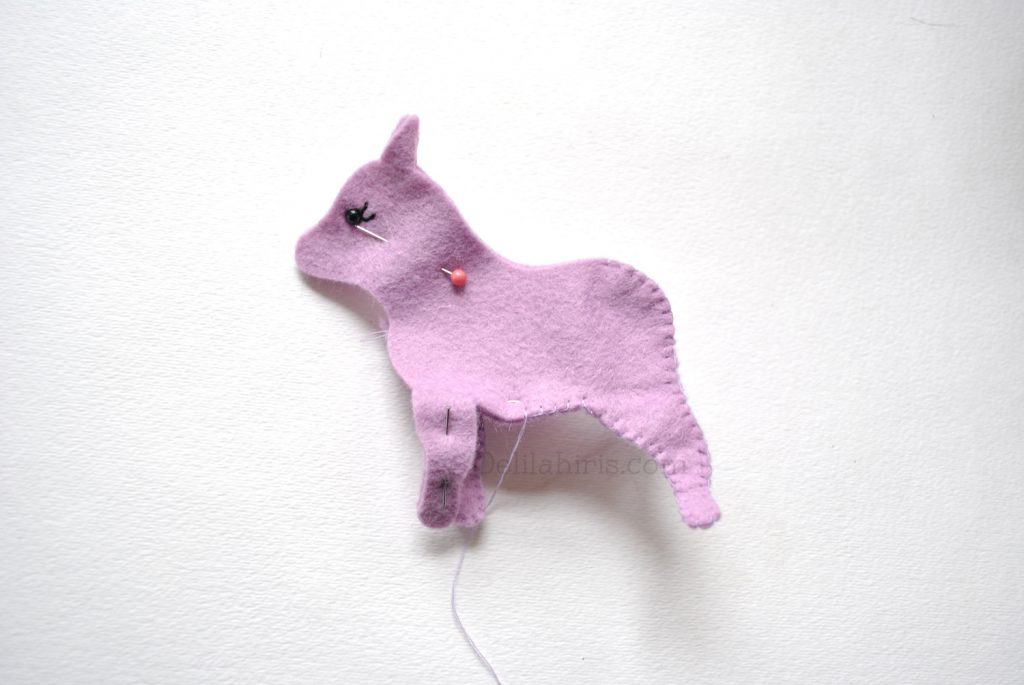
To install the eyes you will create a small hole where you would like the eye to sit. This is where you will insert the back post of the doll eye through the front of the felt. Use the black embroidery thread to create small eyelashes! I like to split the embroidery thread into 3 stands to make he eyelashes.
Insert the safety eye post into the hole you created and fasten the included small plastic washer to the back of the eye, at the inside of the fabric with the flat side of the washer facing downward. Repeat for the opposite side of the face, taking care to install so both eyes will face to the outside of the felt.
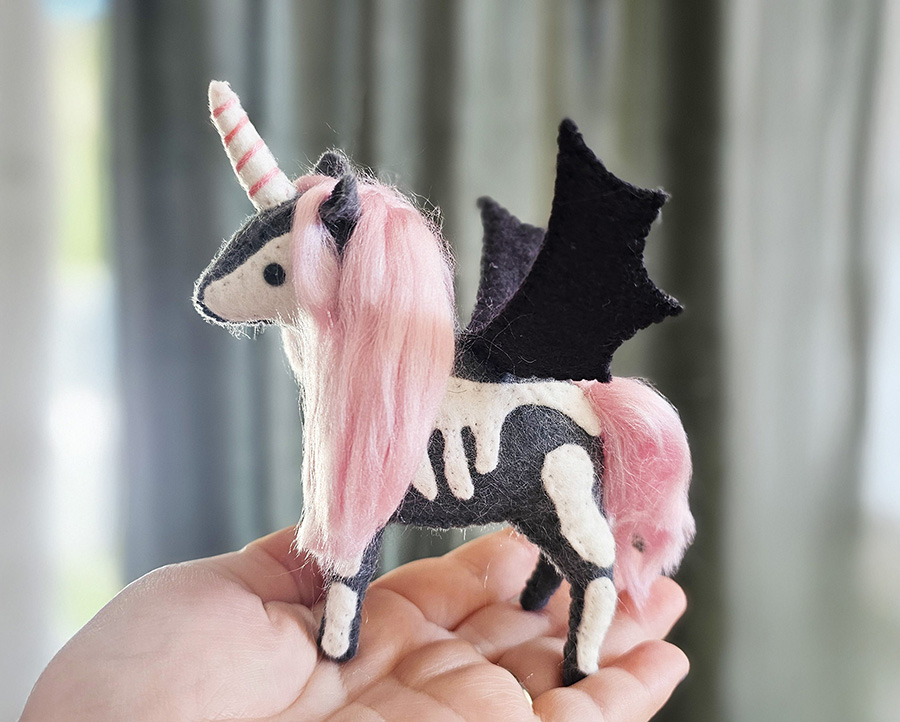
From here the tutorial is exactly the same as creating one of my baby chibi unicorns! Sew your skeleton unicorn in the exact same way, but adding bat wings at the end.
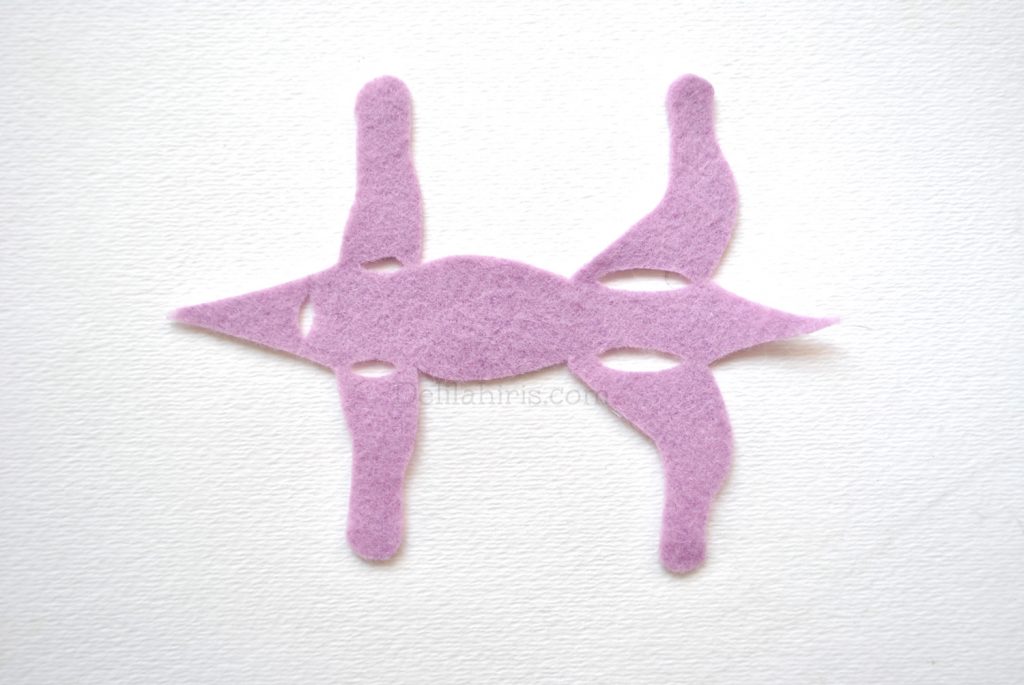
To create ears trim along the dotted lines (as per the pattern) between the head and ear. Fold the felt forward and place a few small stitches at the inside of the head.
Trim some small slits into the felt of the underbody/legs pieces. Stitch the slits back together. This step is optional and only adds a bit of definition (and eliminates folds to he felt) to where the leg will bend downward.
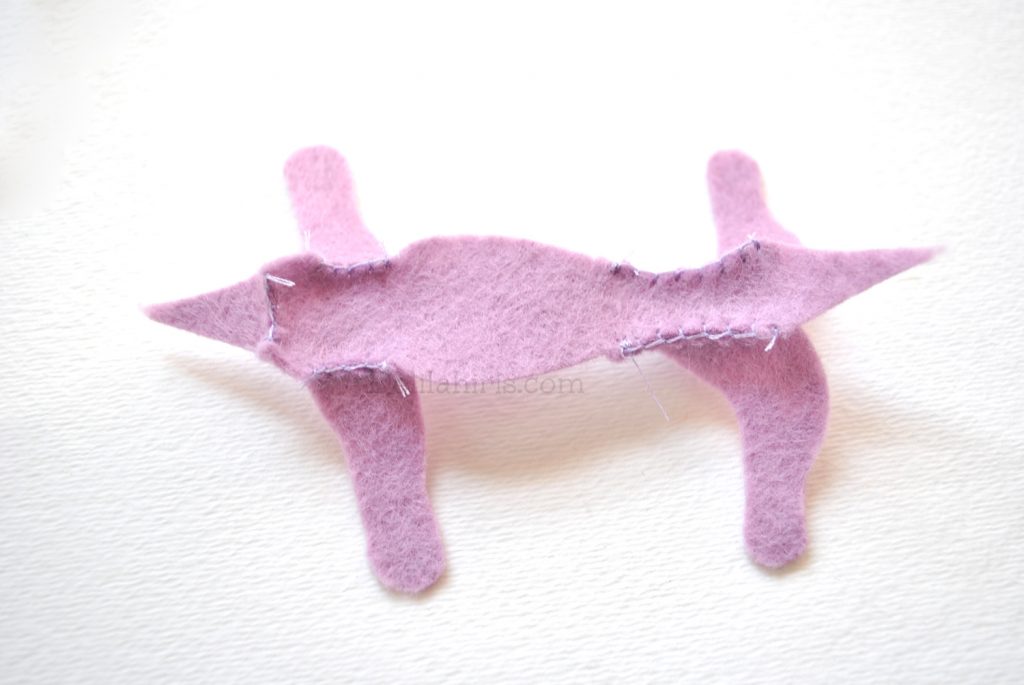
Pin the legs/under body piece to one of the main body pieces, matching the felt at the legs. Fold the very back of the legs/under body piece upward matching the edges of felt together to the back of the rump. Begin stitching the edges together with a short tight stitch. Stitch moving downwards towards the back leg, working along the edge until you reach the front of the chest.


Pin and sew the opposite side of the Body to the legs piece, ending once again at the chest. This time continue sewing upwards past the chest to the front of the face. Pin the face piece to one side of the main body starting at the nose.
Continue sewing along one side attaching at the edges of the felt. Switch to a running stitch at the ear, continuing past until you reach the end of the Face piece. Tie of your thread at the inside of the horse.


Add wire to the inside of the mini horse! Begin by cutting a small length of pipe cleaner to place inside each leg. How I determine length is by holding the wire up to the horse’s legs and bending into the correct shape. I snip off the end of the wire after comparing and shaping. TIP: fold up the very ends of the wire to make them easier to insert into the small legs.
Fold the wire in half (the shape of an upside down “V”) and insert one end each into the front and back legs. There will be one folded piece for the front legs, and one for the back. Next stuff the legs with toy stuffing. This can get tricky! The trick is to use very tiny amounts at a time, balled up as small as you can get them. Push the pieces down into the legs using a toothpick or similar object.

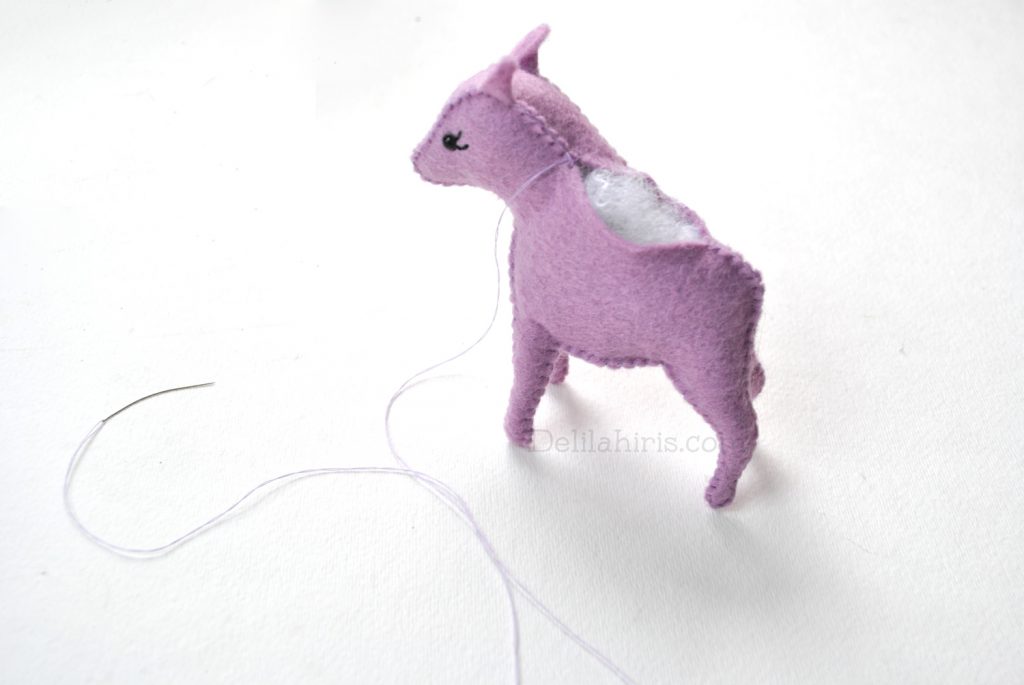
Stuff the legs right to the tops. Now to go back and begin and sewing the opposite side of the head shut. Begin by tying off your thread to the inside of the face right by the nose and begin stitching once again from the nose towards the back of the head.
When you’ve reached about halfway begin stuffing the face and head. Continue sewing downward stuffing into the head, then chest. When you’ve reached the end of the “Face” piece you should only have a small space left open for stuffing. Stuff the rest of the body full and sew the opening shut.


Fold the horn piece in half and stitch the raw, open edges together from bottom to top. When you reach the top send the needle back downward straight through the inside of the horn. Make a knot in the end of a piece of colored embroidery thread. Thread a needle with the thread and send it through the tip of the horn, trapping the knot into the inside tip of the horn. Fill the horn with small bits of stuffing. Wrap the embroidery thread around and around the horn, sending the needle through the felt at the bottom, then knotting at the inside of the bottom of the horn.


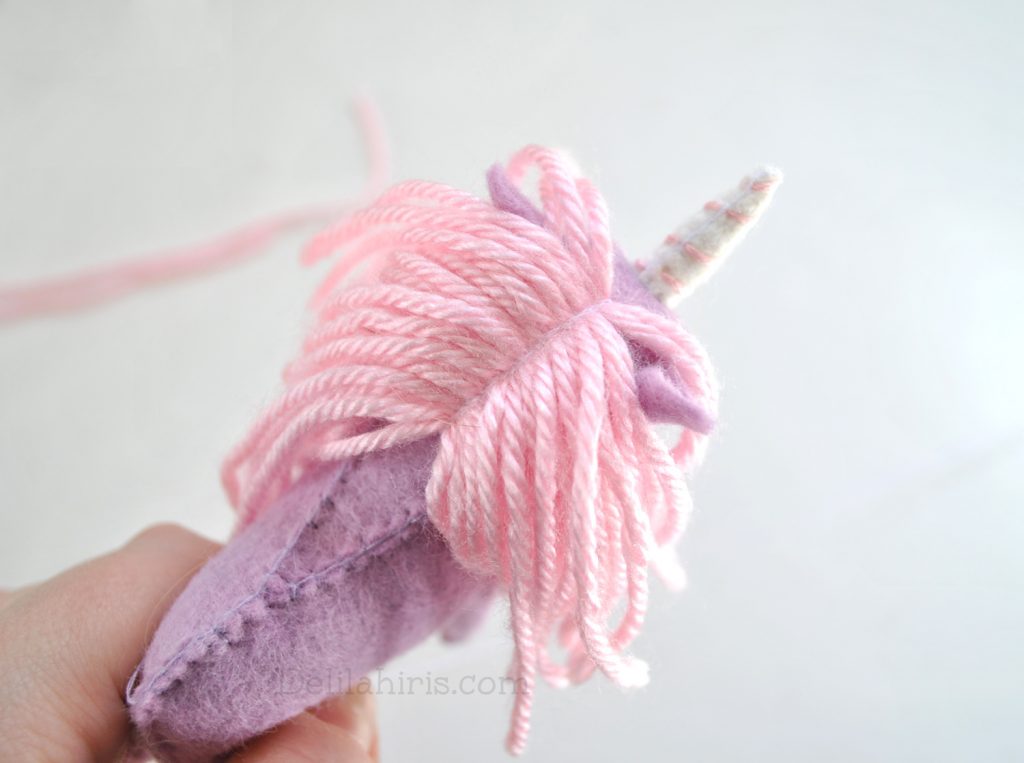
Pin the horn into place then stitch onto the front of the forehead. Lay several stands across the unicorns neck and stitch into place by sewing a back stitch straight down the middle of the neck, holding the yarn into place.
Optionally, you can create silky smooth manes by brushing the yarn out and ironing flat with a hot iron on low setting. To brush out the yarn strands, start by brushing at the tips of the yarn and working to the top. Some of the fiber will pull out but it will look beautiful and wispy when finished.
To sew in the tail, I lay several strands next to each other, and another longer piece vertical to the rest. I then tie the longer piece into a knot right in the middle of the the other strands, essentially tying them together in a bundle. Fold in half at the knot and you’ve got a tail. Now all that needs doing is to sew it in place at the knot.


To create bat wings, pair together the two pieces of felt bat wings and sew along the top. Fit a piece of pipe cleaner into the wing just along the top. Sew along the rest of the outer edges of the wings until they are completely sewn together. Stitch the wings to the top of the unicorn’s back.