
Step 1: Cutting Your Felt Pieces
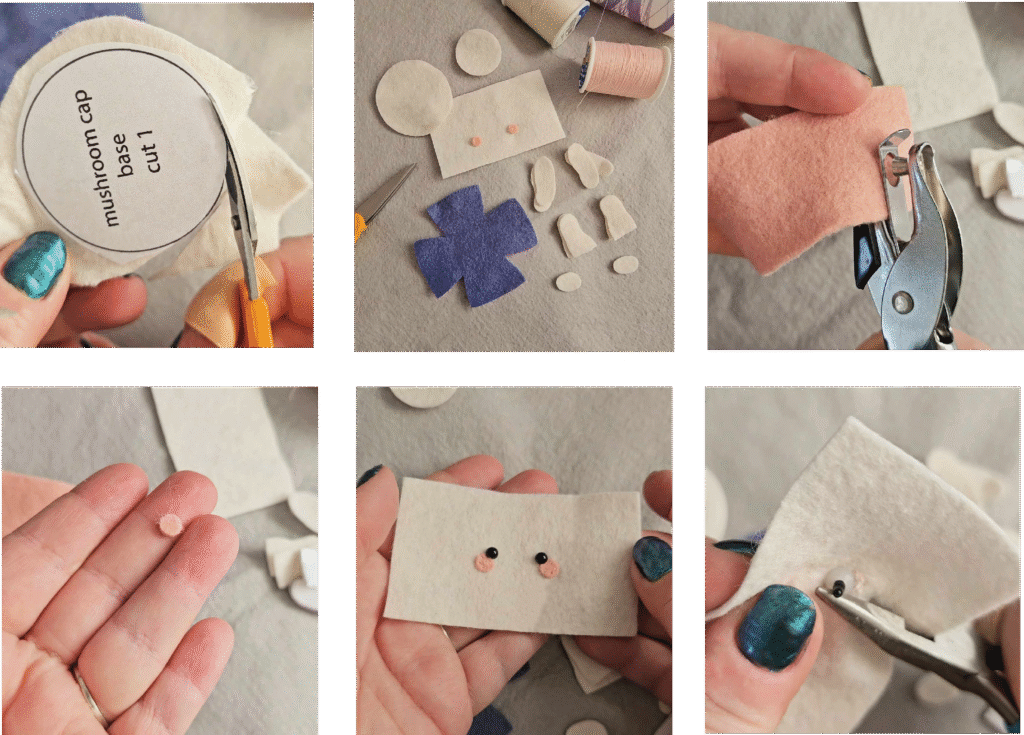
Begin by cutting all of your felt pieces as outlined on the final page of the pattern. Using a small, sharp pair of scissors will make this process easier. For greater precision, you can:
* Trace the pattern pieces onto the felt.
* Iron wax paper onto the felt, trace the pattern on the wax paper, and then cut.
* Use wide clear tape to secure the pattern pieces to the felt and cut through both the tape and felt simultaneously.
* f you have a personal die cutting machine, you can download the included SVG file for fast and easy cutting.
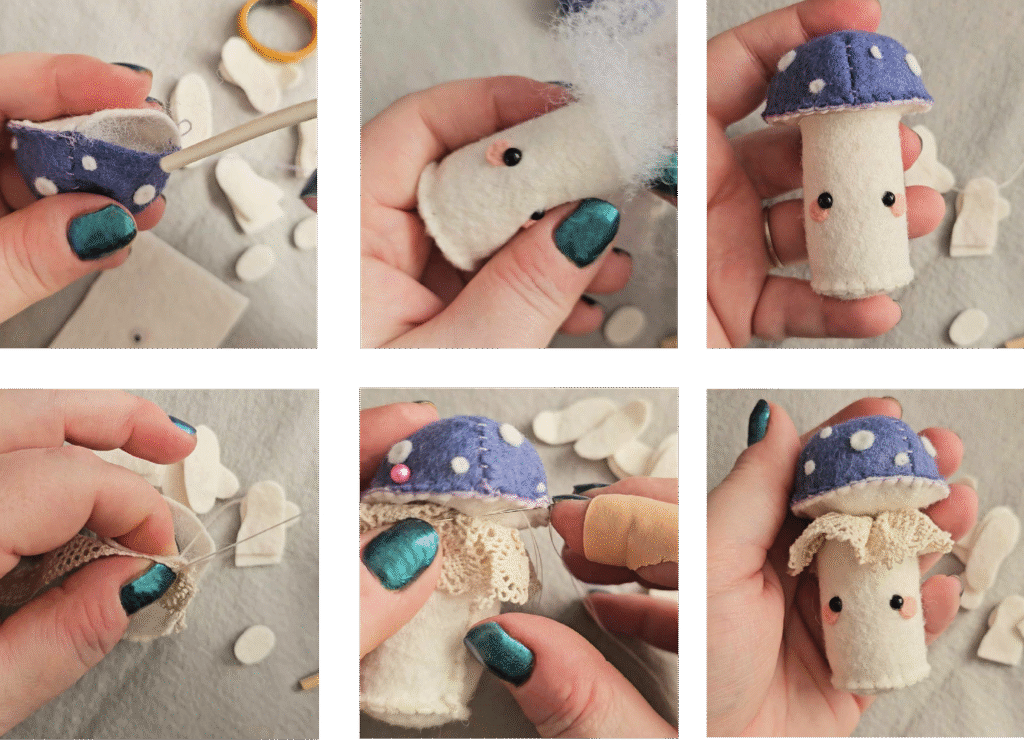
Step 2: Installing Safety Eyes (and blush!)
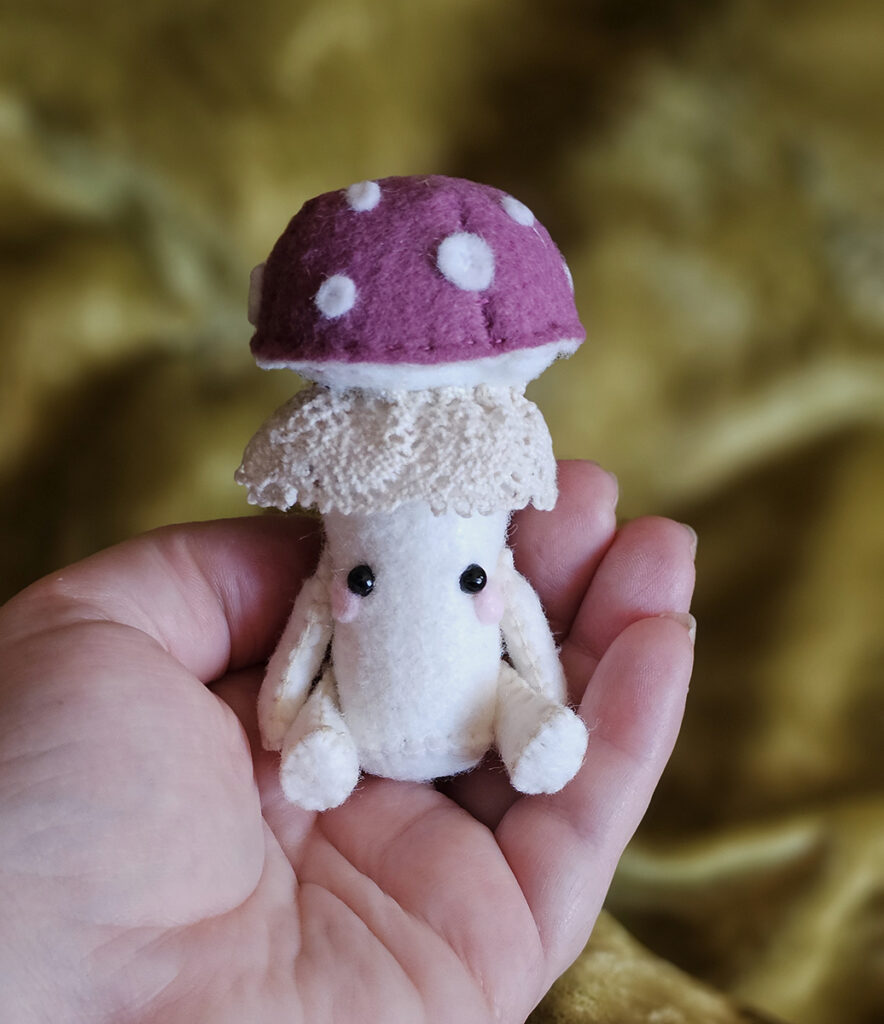
Part of the charm of these adorable little Mushroom Friends is their very cute expression. Adding blushing cheeks is completely optional! But I think it adds quite a lot of charm! You could cut the cheeks by hand using any of the methods above, or even embroider the cheeks with some pink embroidery floss. I took the easiest route I could think of by cutting little circles from pink felt by using a paper punch.
To install the safety eyes, poke a small hole and insert the back post of the plastic doll eye. After inserting the eye post into the hole in your felt, sew the little pink circles just below the eyes. I like to place the blush slightly under the doll eye placement.
Fit the small clear washer over the back of the post to secure the eyes in place. You may need to use glue to hold them securely, and if desired, clip the end of the post shorter.
Step 3. Let’s Start Stitching
Tie of your thread to the inside corner of the mushroom body felt, then fold the felt in half to stitch up one side. This will help shape the mushroom body into a tube. Stuff a small amount of toy stuffing into the tube to help it to stay open.

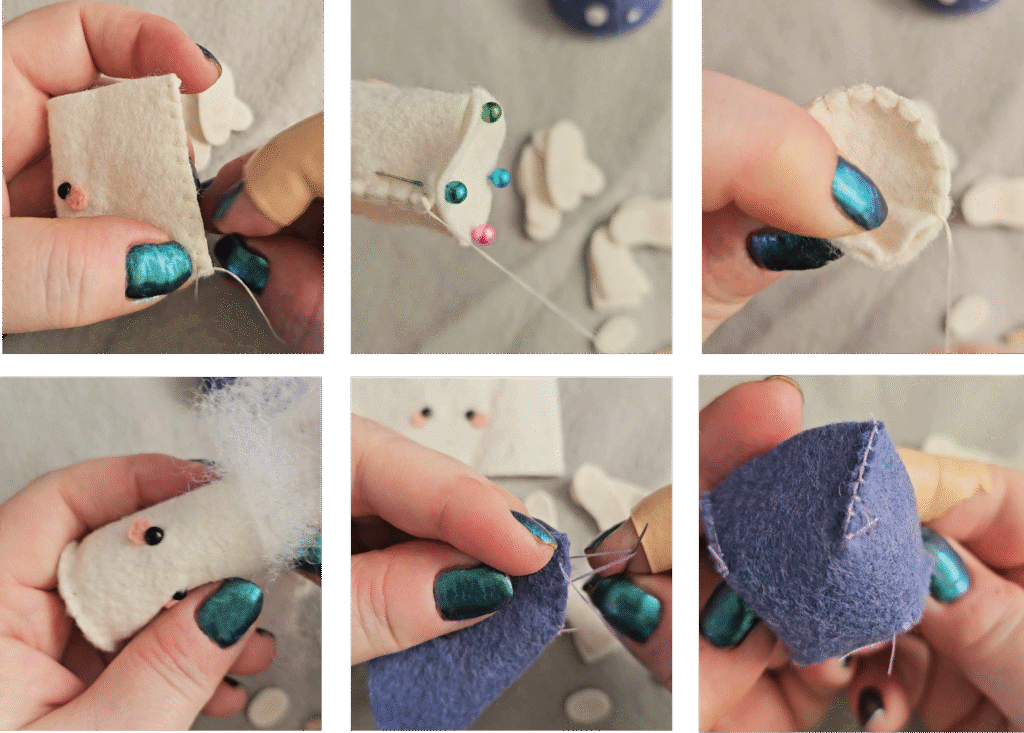
Place the bottom of the mushroom into place, pin if needed, and begin stitching into place around the base of the mushroom. Once the base is sewn on, knot your thread along the seams and trim the end off.
To create the mushroom cap, pinch the outer edges of the curved seams together and stitch. Repeat this for all 4 of the curved gussets of the mushroom cap. When all four seams are sewed together, tie off your thread and flip the cap right side out.
Next place and stitch the dots onto the mushroom cap. Each circle will be held on by placing a single stitch or two stitches to form an X shape. Sew the dots onto the mushroom cap scattered randomly across the surface of the mushroom.
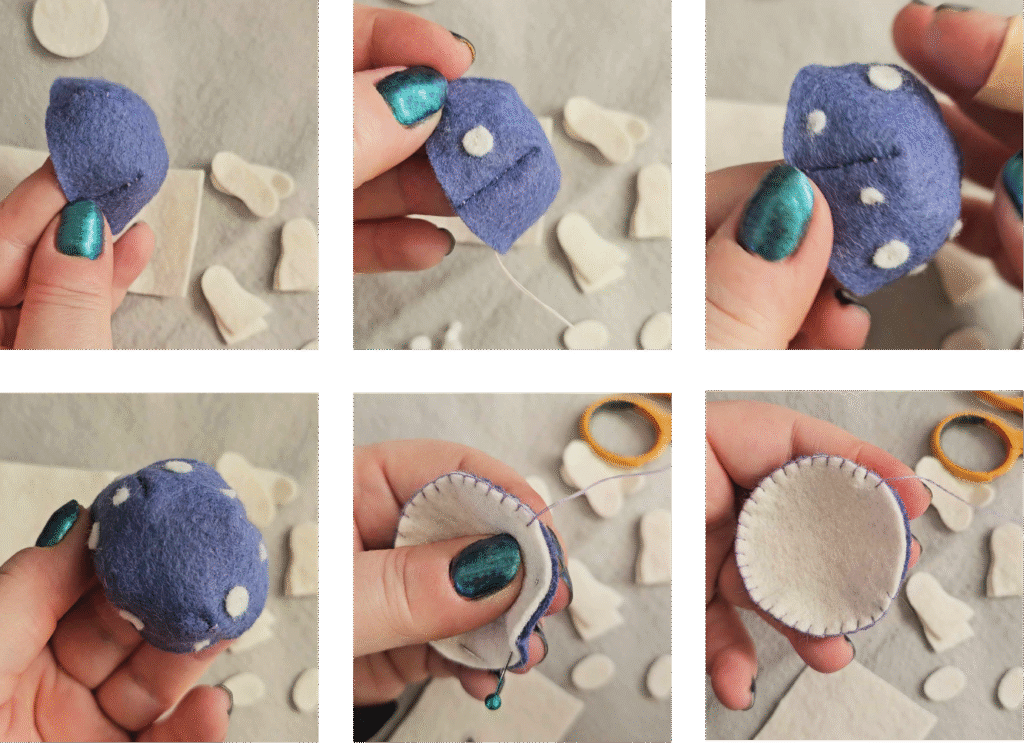
Fit the base of the mushroom cap into place and stitch around the diameter until there is just a small opening to fill with stuffing. Fill the mushroom cap with toy stuffing, then continue sewing to stitch the mushroom cap shut. Next fill the mushroom stem/body with stuffing.
Add Lace (optional)
For an added bit of detail and charm you can choose to add a lace ruffle to the top of the mushroom stem body. Any lace you choose will do, however I chose a cute crochet lace. You can find this type of lace in most craft or sewing stores.
Pin the mushroom cap to the top of the body and pin into place. Use a whip stitch to sew the mushroom cap and stem together.
Adding Arms and Legs!
Knot your thread at the inside of one of the arm pieces. Pair two arm pieces together and begin stitching together along the edges. Stuff the arm and sew shut. Repeat to create a second arm.
Knot your thread to the inside of a leg piece. Pair together two leg pieces and stitch together from the front toe and ending at the back of the foot. Leave the thread dangling while you gently stuff the leg with small bits of toy stuffing. Place the bottom of the foot piece onto the bottom of the leg and stitch into place. Repeat to create a second leg.
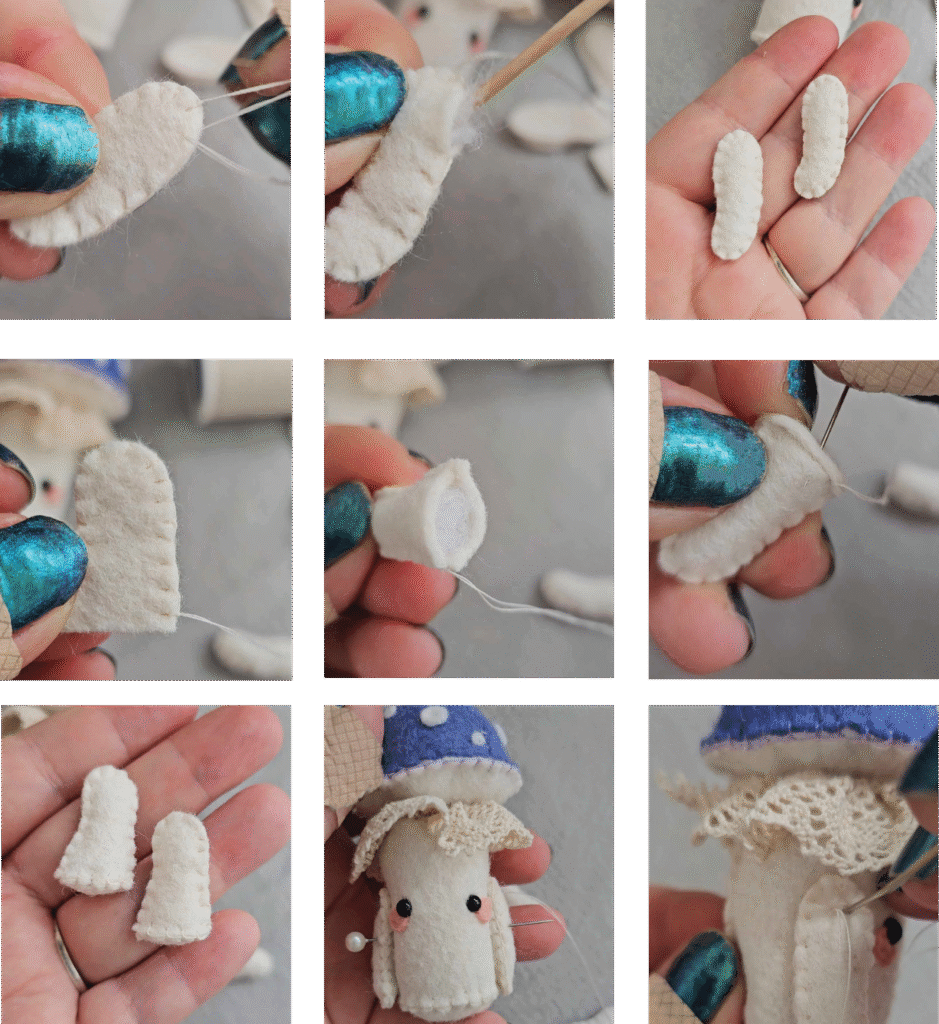
Knot the thread onto the side of the mushroom body. Make sure to knot the thread where the mushroom doll’s arm will be sewed into place to hide the knot. Pin the arms onto the mushroom doll to prepare to sew string joints into place.
Pass the needle through the mushroom body and out through the top of the arm. Send the needle back through about an 1/8th inch from where the needle exited, creating a small stitch that holds the arm into place. Pull the needle out on the opposite side through the top of the opposite arm. repeat these steps over to continue holding the arms into place more strongly. Knot the thread off under another limb and trim the ends off. Repeat these steps to hold the legs into place.